Getting Started (on Azure)
OpenShot Cloud API is easy to install and configure. Launch your own private instance using Azure Marketplace, or by following this link: https://azuremarketplace.microsoft.com/en-us/marketplace/apps/openshotstudiosllc.openshot-cloud-api. The following video walks you though the configuration process.
This tutorial video covers the basics of how to configure an OpenShot Cloud API instance, and walks you through the process of creating your first video project. This video uses AWS, so a few steps might be different on Azure, but generally, the process is almost identical.
Launch an Instance
After you launch an instance of the OpenShot Cloud API, it is initially configured to run as both a web server and task server (server), and as a video processor (worker). Once you have started your instance, you can access the web server without changing anything.
NOTE: Azure requires you to specify a username and SSH key. Be sure to use the following information, or you will be unable to config the instance correctly. - SSH Username: ubuntu - SSH Public Key: Your own public SSH key
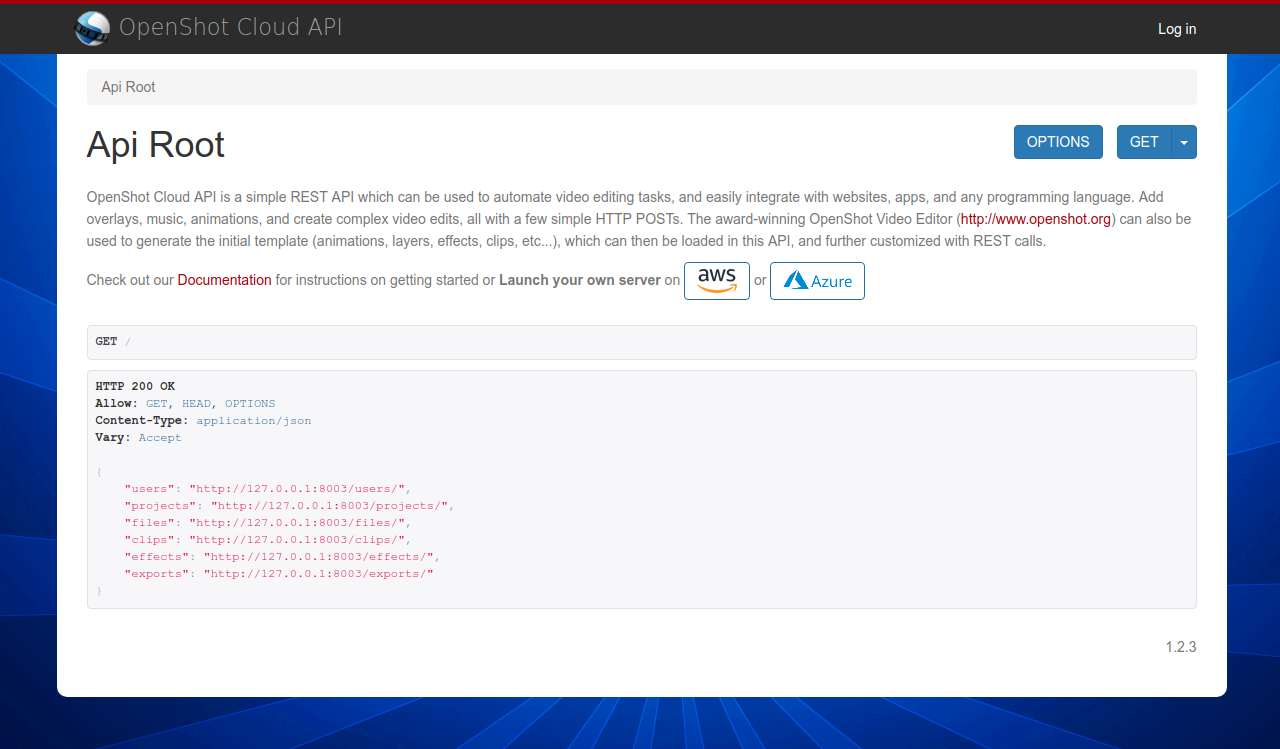
Access your new instance in a web browser. Use its public DNS or IP address. http://YourInstanceIP/
Architecture
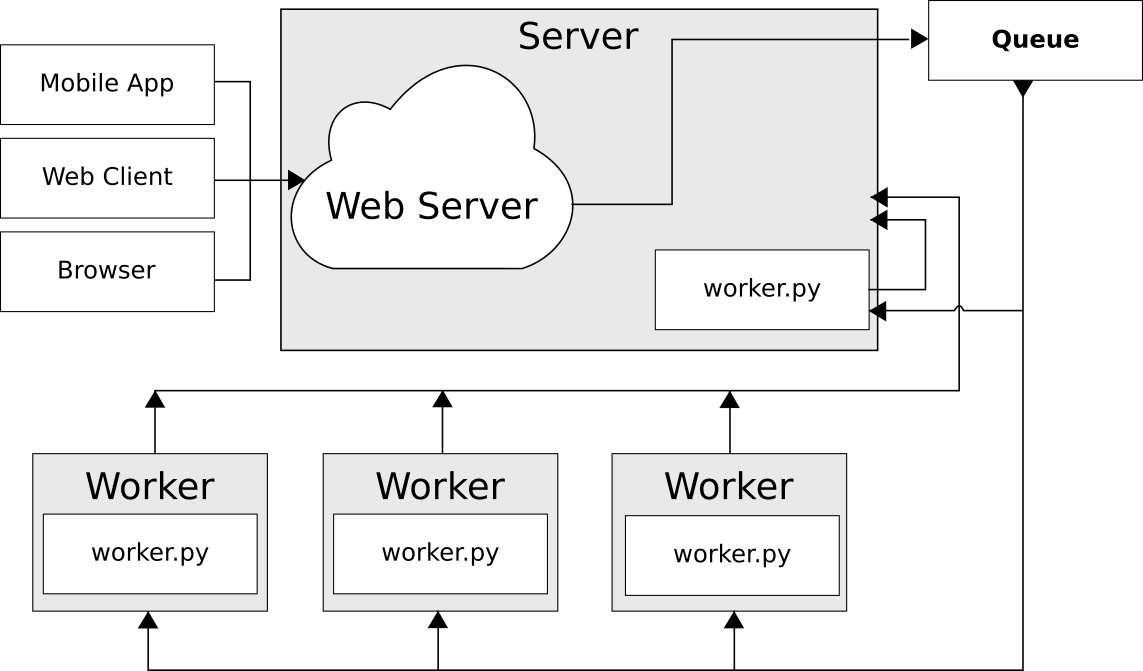
This diagram illustrates the basic architecture of OpenShot Cloud API. A server listens for video editing tasks, and then sends those to an available worker. A worker processes each job (one at a time), rendering a final video. When a worker is done, it can optionally POST to a webhook URL, upload the video to S3, or the video file can be downloaded as needed. All servers and workers share files using HTTP, for accessing source assets (i.e. logos, videos, music files) and for sharing the final rendered output video.
The server should be configured with a large enough EBS volume to handle all files you intend to store. And if you are done with a project after exporting/rendering, it is best to delete it (and the source files will be removed automatically).
REST: Representational State Transfer
REST is a design pattern for web services modeled around HTTP requests. Each operation uses its own HTTP method:
| Method | Description |
|---|---|
| GET | Get data from the API (i.e. request a project, clip, or export) |
| POST | Create data on the API (i.e. create a project, clip, or export) |
| PUT | Update existing data from the API (i.e. update a project, clip, or export) |
| PATCH | Update partial existing data from the API (i.e. update only a Clip’s position) |
| DELETE | Delete existing data from the API (i.e. delete a project, clip, or export) |
Before You Begin
OpenShot Cloud API uses an Azure Storage account and access key credentials to access Blob and Queue storage.
Before you begin, you will need to create (or locate) an Azure Storage Account. Look for the Access Keys
link on your storage account page.
- The following details will be required:
- Azure Storage Account
- Access Key
- Storage Account Name (all lowercase)
- Queue
- Create a storage queue named openshotcloudapi
OpenShot Cloud API will not work without this configuration, so please verify you have things configured correctly before moving forward.
Server Settings
To configure the settings of your new instance, SSH into the instance using your private key and the ubuntu user:
ssh -i private-key.pem ubuntu@xxx.xxx.xxx.xxx
Run the following command to configure your server for the first time:
config-openshot-cloud
When setting up your first instance, it is recommended to configure it as both a server
and worker, by choosing the first option: (B)oth.
Choose a ROLE for this instance.
  (B)oth   - Runs both the HTTP API, DB, and video processing
  (S)erver - Runs only the HTTP API and the DB (no video processing)
  (W)orker - Runs only the video processing tasks
When configuring your server, it is very important to provide the following Azure settings. If these settings are invalid, OpenShot Cloud API will fail to process video exports, and Azure Blob features will throw errors.
# Required Azure Settings
Azure Storage Account Name?
Azure Storage Access Key?
Azure Storage Queue Name? (openshotcloudapi)
Worker Settings
If you are only running a single instance (server and worker), you can skip this section. If you are launching additional worker instances, this section covers how to connect them back to the OpenShot Cloud API server.
To configure the settings of your new worker instance, SSH into the instance using your private key and the ubuntu user:
ssh -i private-key.pem ubuntu@xxx.xxx.xxx.xxx
Run the following command to configure your worker for the first time, and choose the second option: (W)orker.
config-openshot-cloud
For each worker instance you launch, you will be prompted to provide the Cloud API URL of the server (which can be an internal IP address) and to provide Azure Settings (for Queue and Blob - same as configuring the server above). This allows the worker to watch the Azure Storage Queue for new video export tasks/jobs, download and upload files from Azure Blob Storage, and use the API URL to update the export record with progress, status, and the final rendered video file.
NOTE: The worker must be able to communicate over port 80 with the API server.
Now that you have configured your worker instance, it should be listening for new tasks from the server, and updating the Export record on the server when it completes tasks. Each Export record contains the hostname of the worker that processed it. So, create a test Project and then create an Export, and you will see the hostname of the worker added to the Export record.
Verify Azure Configuration
When config-openshot-cloud has completed, it will try and verify your Azure configuration, and will let you know if anything went wrong. If you see a failure, please double check your Azure settings, credentials, and queue name and run config-openshot-cloud again. You can also access http://YourInstanceIP/azure/validate/ at any time to verify your Azure configuration.
Admin Interface
A full admin interface is available at http://YourInstanceIP/cloud-admin/, which allows you to create additional user logins, manage your video projects, and search your data.